


Flexible gravel stabilizer
Taxes included. shipping costs are calculated at checkout
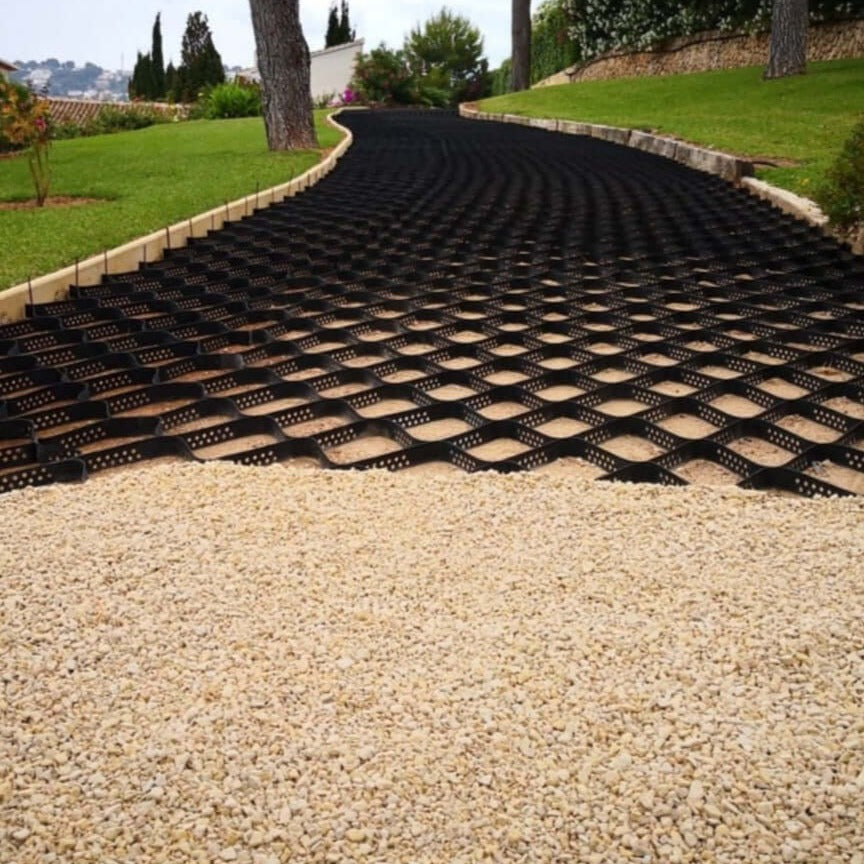
Get paths and trails made with natural gravel with the comfort of a concrete path. Comfortable for walking, for bicycles and even for wheelchairs but with the natural aspect of a gravel path.
It is the cheapest gravel stabilizer on the market but it works perfectly, just like the most expensive product that can multiply its price by 10.
Stabilizer Features Staby 2.0
Made with 100% recycled material.
2.55 x 6 m modules (15.3 m²).
Cells are 20x20 cm in size and 5 cm in height.
They have perforations that allow water to drain very well and prevent flooding.
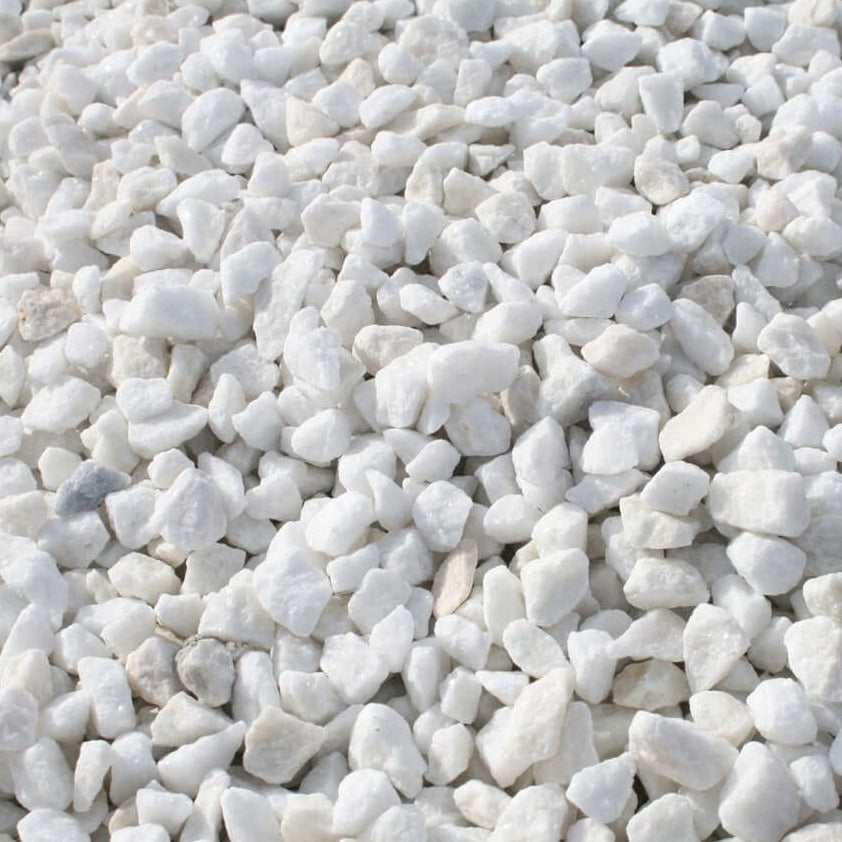
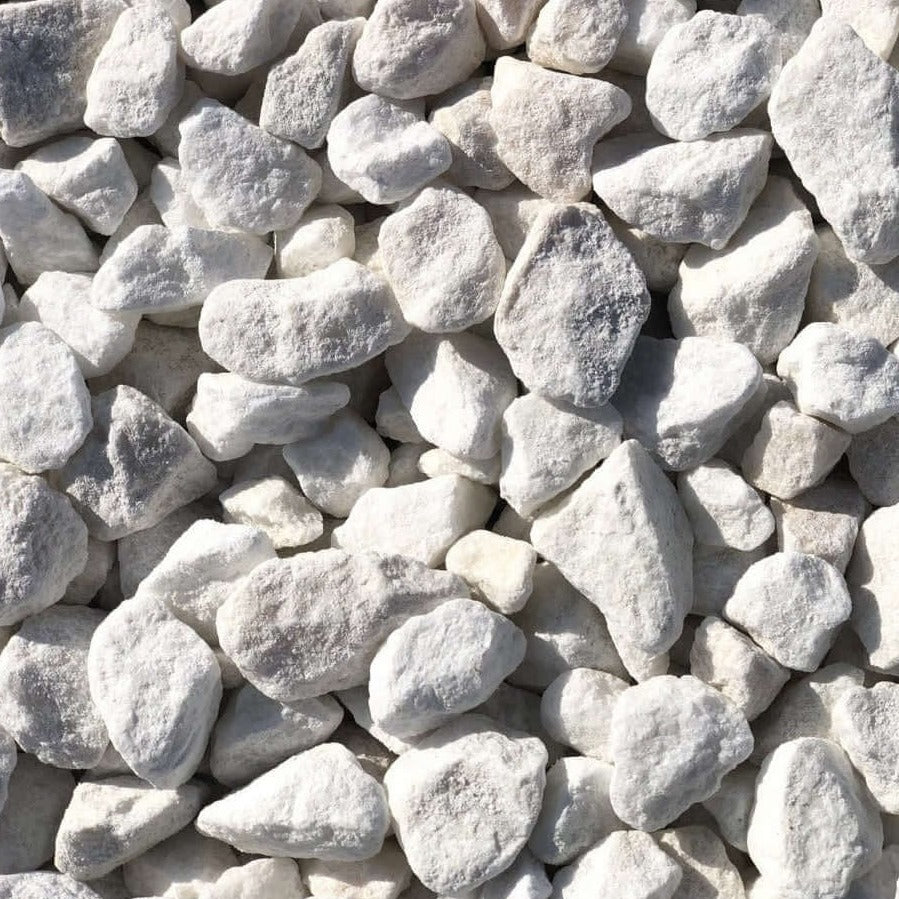
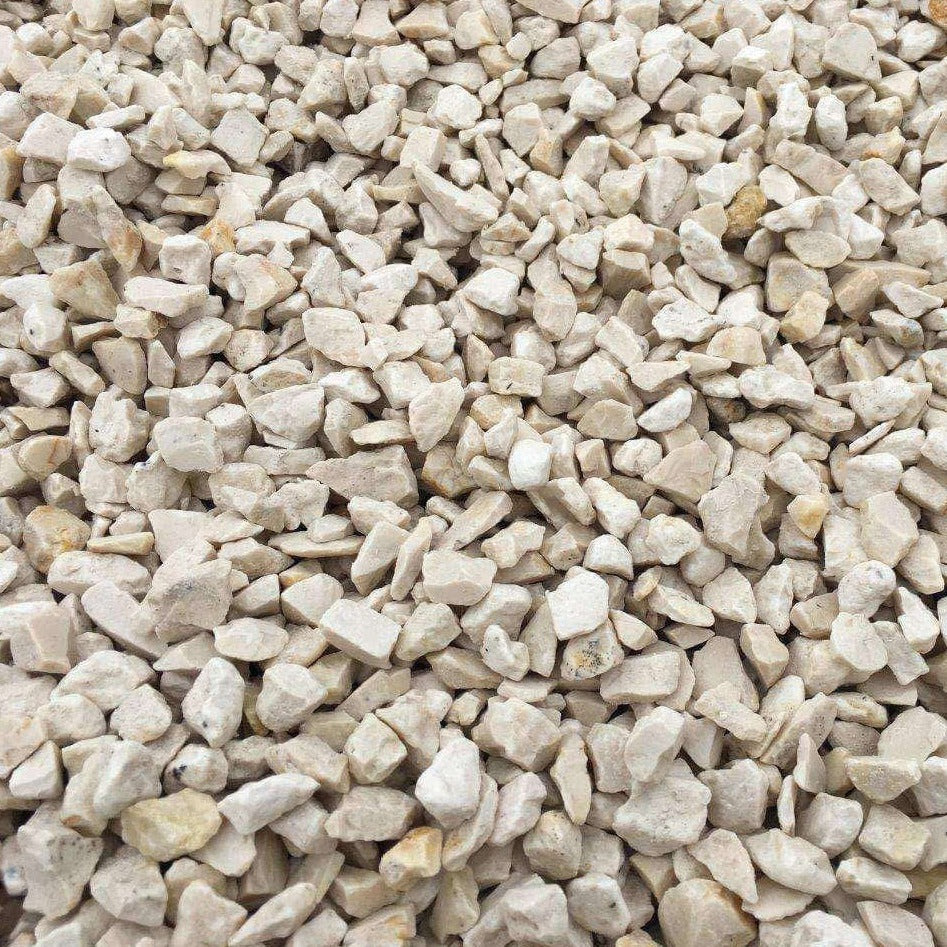
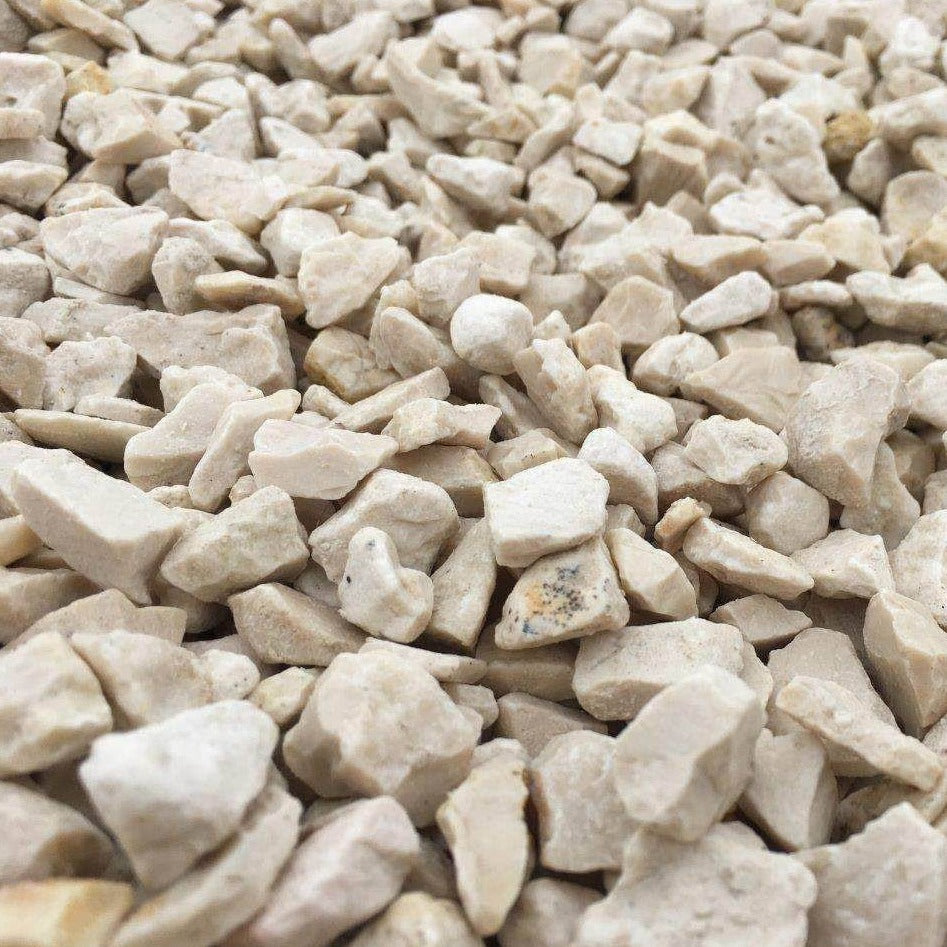
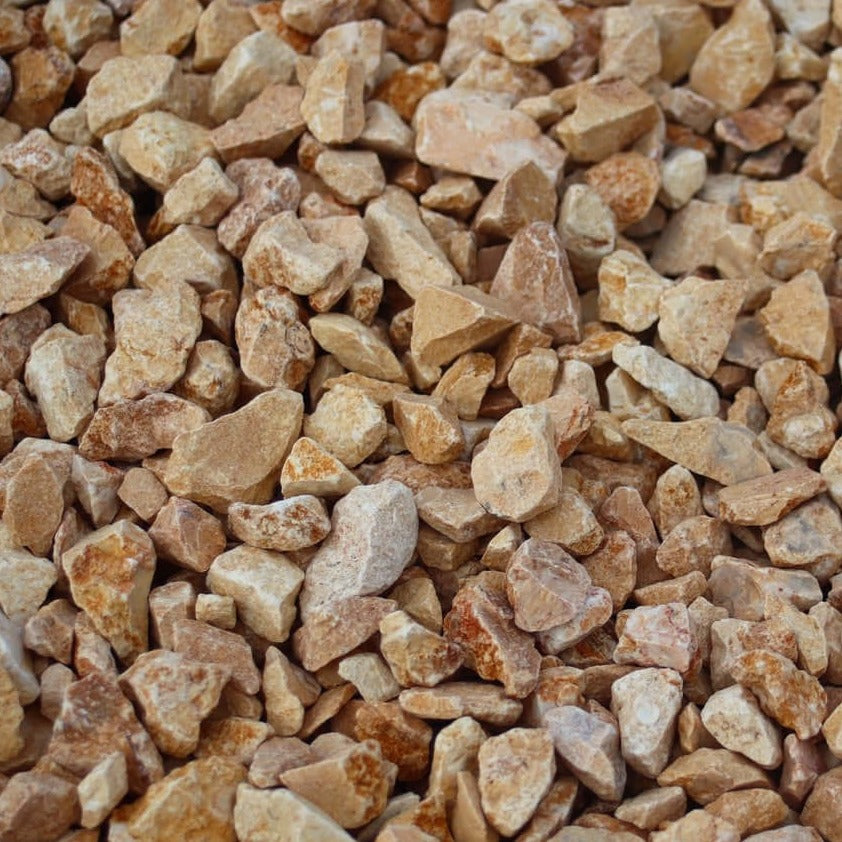
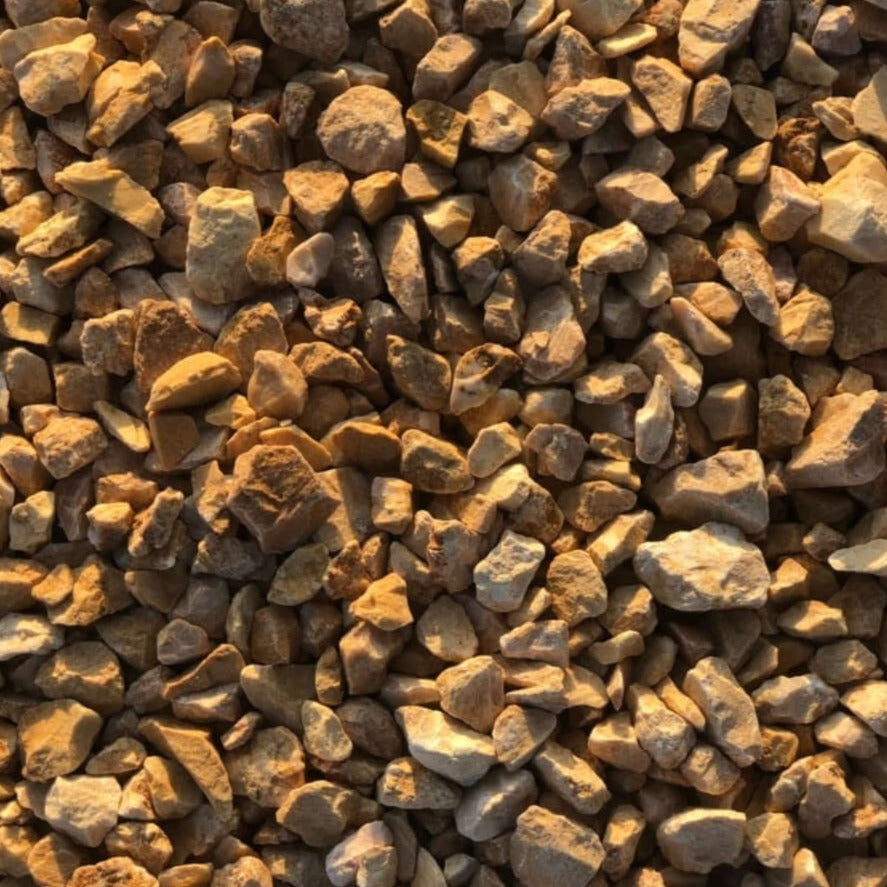
For each pack 1,200 kg are necessary. of gravel, it is recommended that it be gravel and not rounded stones, so that it compacts better.
The ideal size of the gravel is a granulometry between 6 and 16 mm, any gravel within that range is valid.
Unit weight 7.1 kg.
Advantages of gravel stabilizer
- Easy placement, little effort.
- Affordable price, much more comfortable and practical garden paths.
- The pieces are put together very easily, with an ordinary stapler.
- Draining paths, avoid the creation of annoying puddles.
Flexible gravel stabilizer placement
Important!
Placing the gravel stabilizer is not excessively complicated but it does require following specific steps, it is a matter of patience and time more than skill.
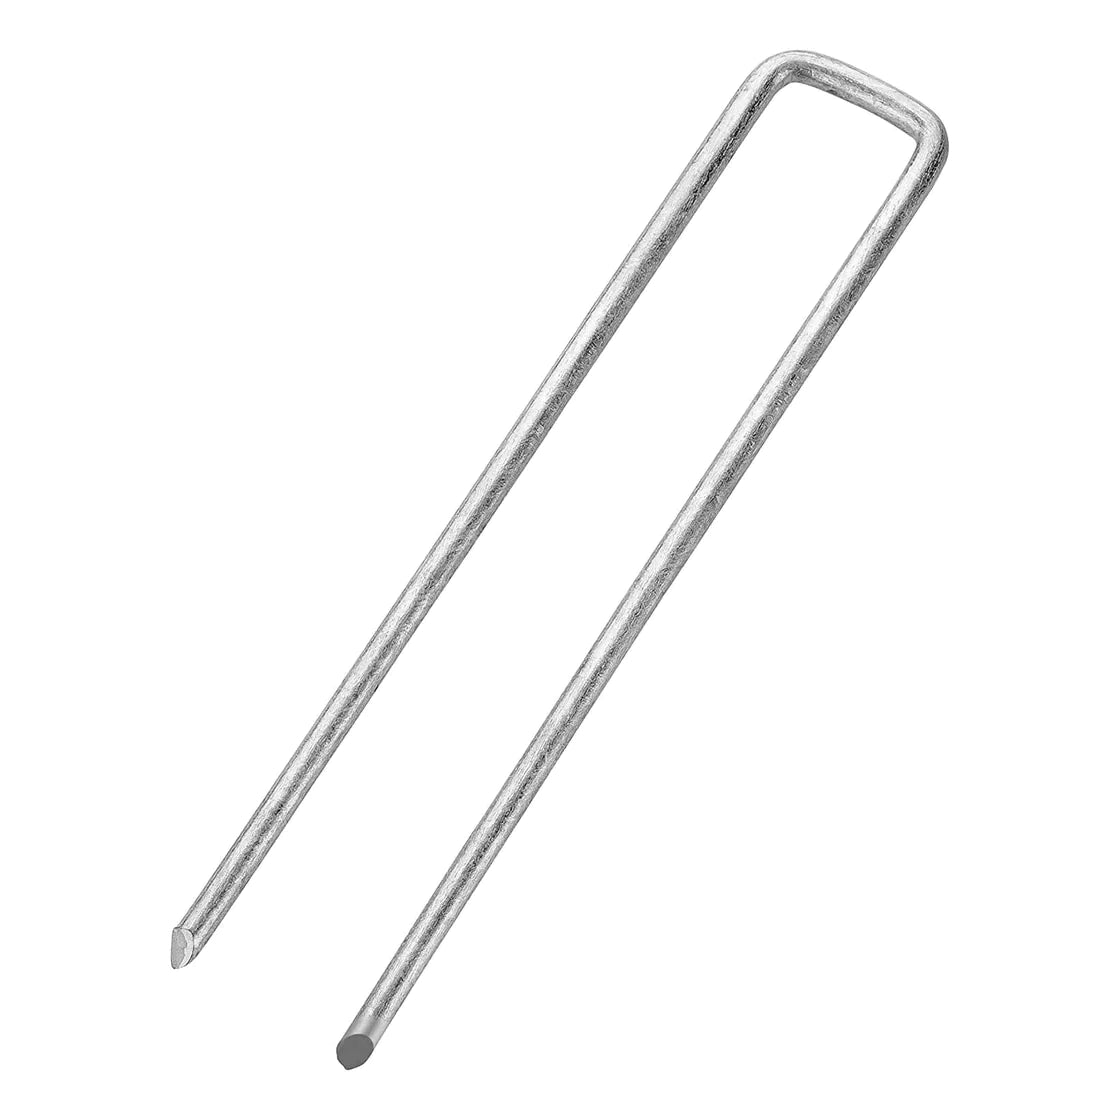
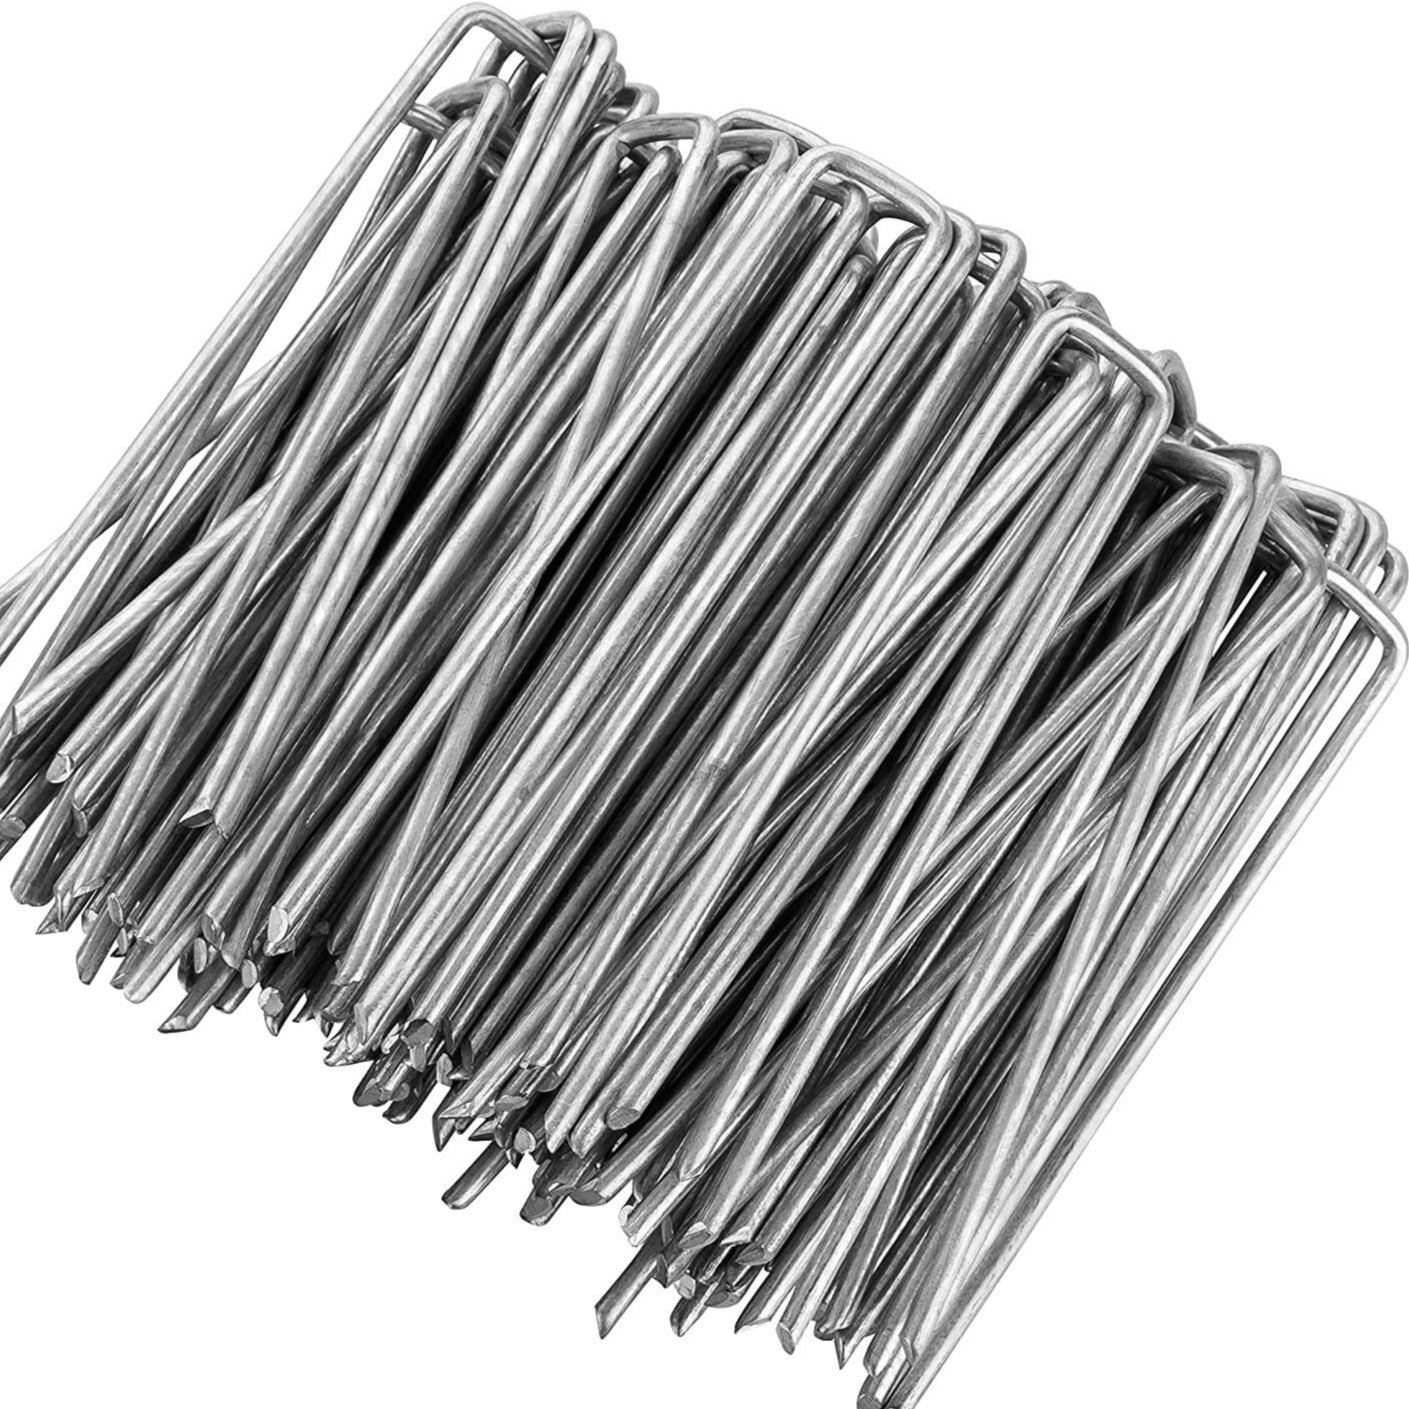
- If the ground where you are going to place the stabilizer is dirt or grass can come out, it is highly recommended to put a anti-grass mesh. We cut the mesh to the size of the stabilizer and fasten it with fixing clips so that it does not move.
- We spread the flexible stabilizer over the mesh, stretch it well and hold it, since the stabilizer will have a spring effect and will shrink. We fasten it around the entire perimeter with staples until it stays perfectly stretched.
- We begin to fill the cells with gravel, very little by little, if we throw a lot of gravel at once the stabilizer will crush and/or lift.
- Once we have "mastered" a first section, we can add more gravel on top of that section and push it towards the empty cells. From this moment the work is easier and faster.
- Once we have filled all the stabilizer, it is recommended to add 5 mm more gravel, so that the stabilizer cannot be seen. At that time it is recommended to tread the gravel well, if we have a roller that is heavy it would be perfect, but if we do not have one we can put a board and climb on top to gradually tread the ground, in this way the gravel will compact very well and we will achieve the comfortable effect we are looking for.
If you do not know the product or have doubts about whether you are going to place it correctly, we recommend ordering a single pack and trying it for now, the investment is not very large and the effect achieved once it is placed is very nice and practical.
We recommend:


You may also like